Use your brand in a personalized image
The editor only knows about your brand when you open it from that brand. If you start with Create a personalized image on the home screen, the editor opens without a brand, so you pick colours and fonts yourself.
Open the editor from a brand
Section titled “Open the editor from a brand”- On the home screen, open your brand (or add one).
- Open a project, or click Add a project.
- On the Brand step, check the profile and click Continue.
- On Brief, describe what you’re making.
- On Mode & format, choose Personalize, then click Open personalization editor.
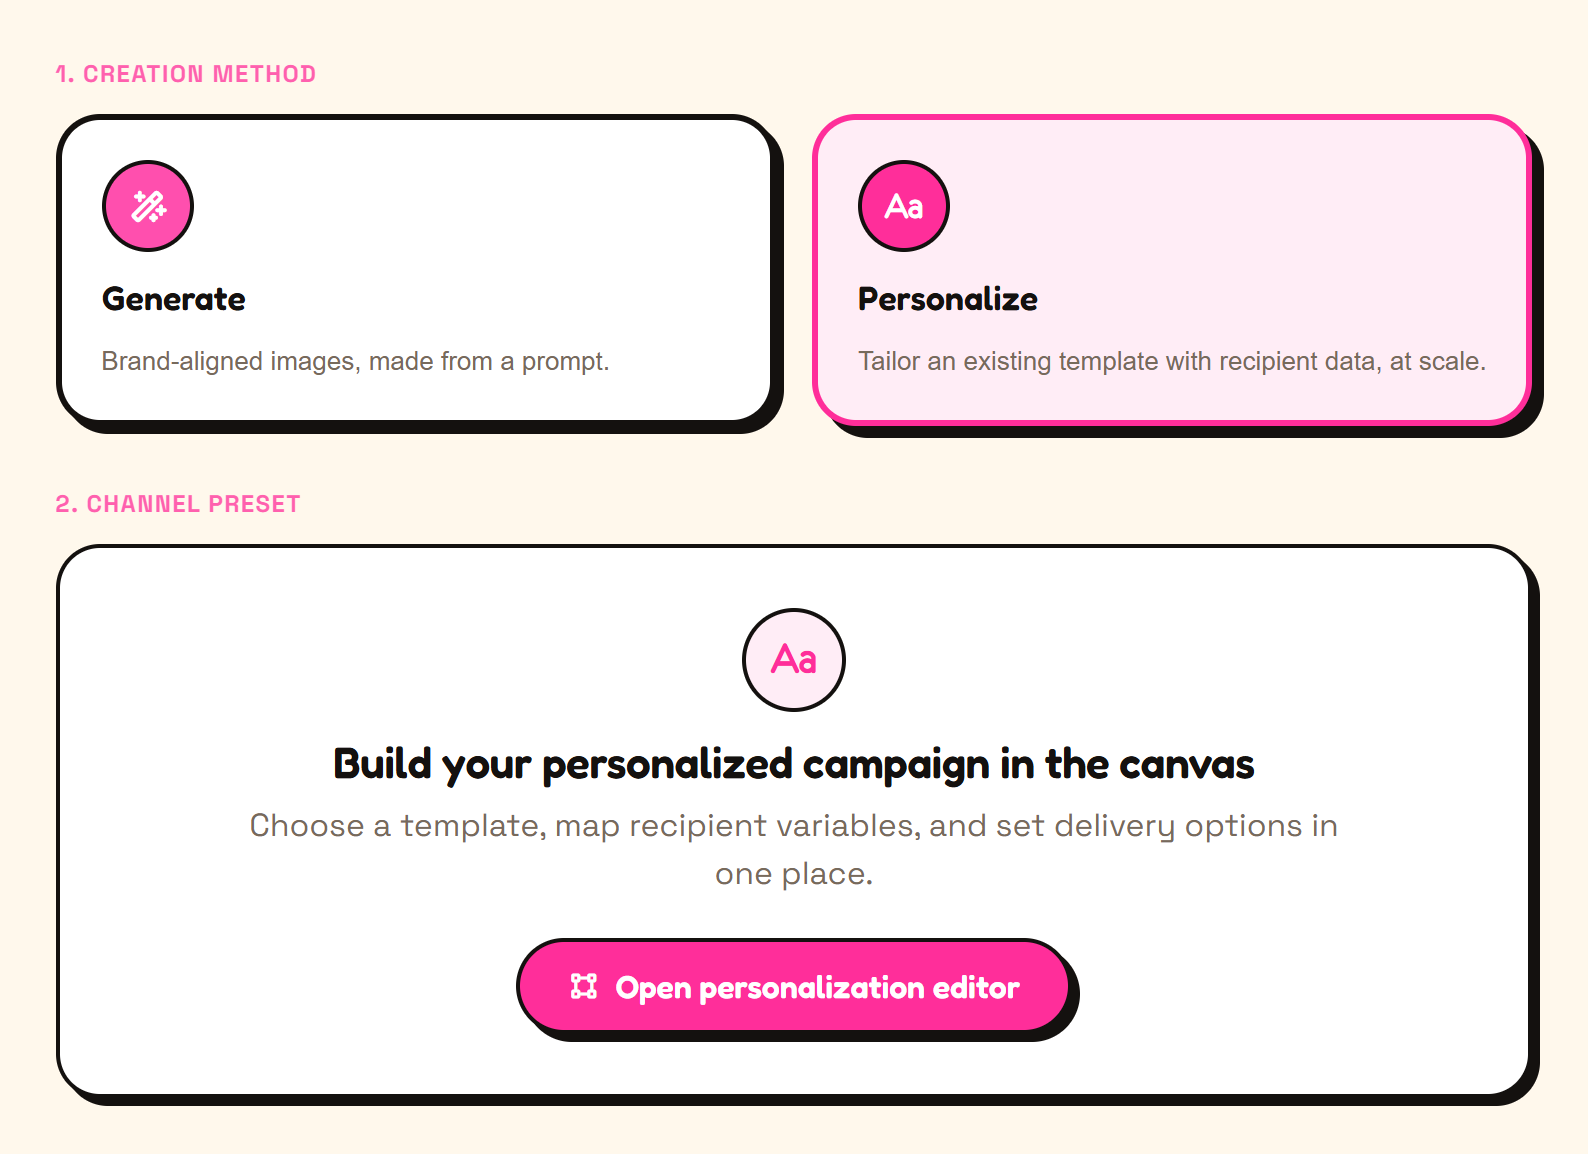
From here the editor works as usual. See the Editor tour and Personalize layers.
What the brand gives you in the editor
Section titled “What the brand gives you in the editor”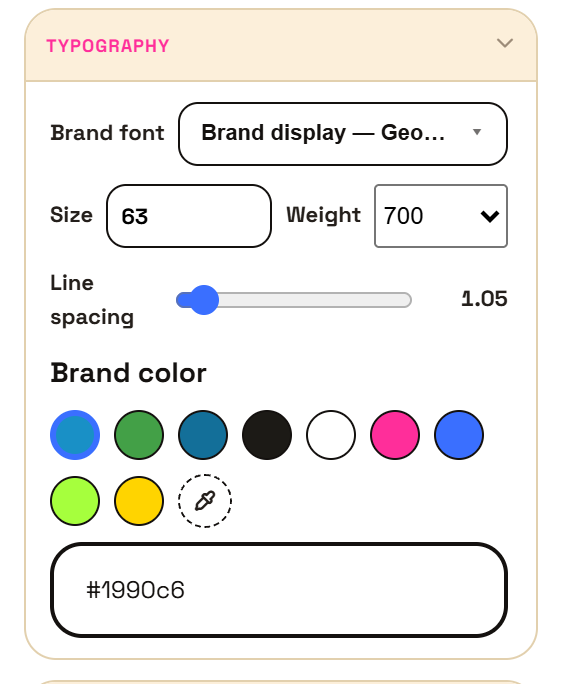
In this example the first three swatches are Allbirds’ colours, and the new headline already uses the first one.
- Fonts. Your brand’s display and body fonts sit at the top of the font picker, labelled Brand display and Brand body, together with any fonts you uploaded.
- Colours. Colour controls (text, outlines, shapes, shadows, charts) show your brand colours as swatches, so you don’t have to type hex codes.
- Starting colours. New text and shapes start in your brand colours instead of black and blue.
- Photos. Photos you upload in the editor are saved to the brand’s Product photos, so they’re there for the next image too.
- AI generation. Images and layouts you generate follow the brand’s imagery style and tone of voice. Create with AI shows which brand it’s using in step 5, Brand; with no brand it falls back to a clean, neutral style.
AI generation creates artwork for your reusable template. Once saved, that artwork and the layout are reused as recipient fields change; AI does not generate a new scene for each person. You can use the canvas to design or refine the template too.
Start from a generated background
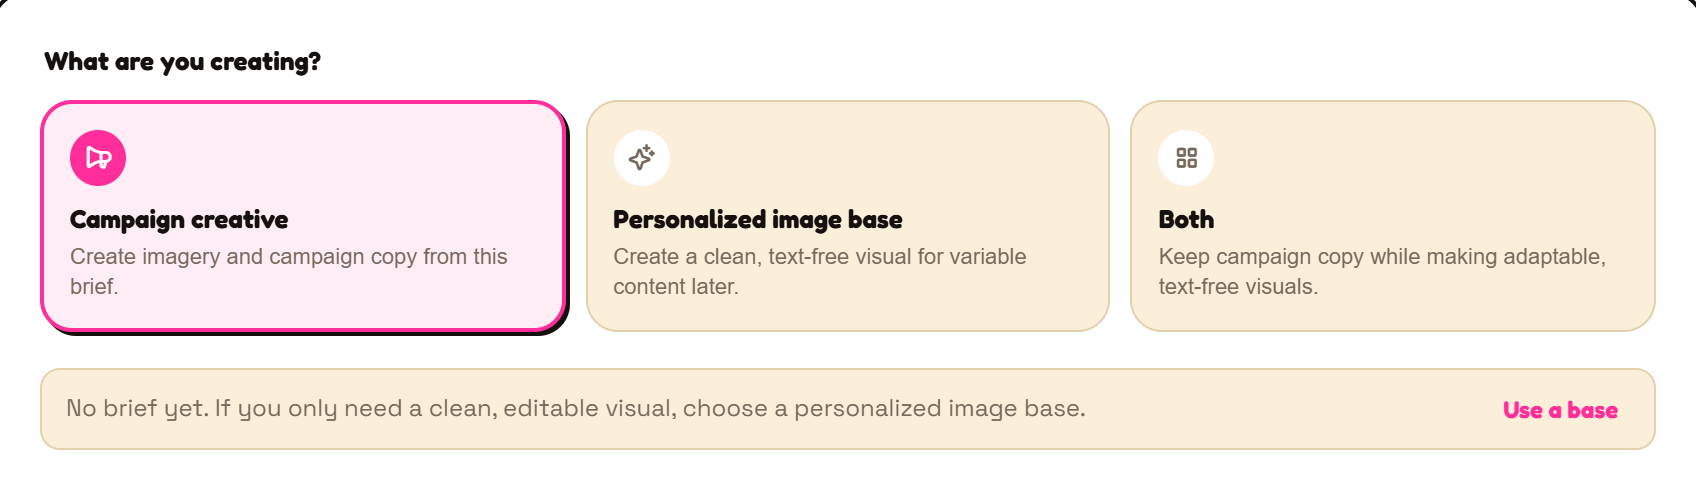
Section titled “Start from a generated background”Want a branded photo or illustration behind your personalized text? On Brief, choose Personalized image base. Piksio generates clean visuals with no text on them, in your brand’s style. Pick one with Choose personalized image, then add your merge tags on top in the editor.
Choose Both to get campaign copy as well as text-free visuals.
Skip the brand scan
Section titled “Skip the brand scan”You can open the personalization editor from a brand without reading the website. On the Brand step, before scanning, click Create a personalized campaign. The image stays in that brand and project, but there are no brand colours or fonts until you read the site.